Growing herbs at home
Many of your home-grown herbs will be available from spring and right through the summer.
A few, such as coriander, are short-lived and do need to be sown on a regular basis if they are to be picked at their best.
Generally speaking the more often herbs are picked, the more tender and flavoursome the shoots will be and at the same time the action of picking will help to keep plants in trim and, along with regular watering and feeding, will encourage new shoots to be produced.
When harvesting whole shoots cut them cleanly with scissors, secateurs or a sharp knife and do not leave a stub which could rot back down the stem – cut cleanly just above a leaf joint. A new shoot will soon emerge. Single leaves can be pinched off with your fingers.
Use your harvested shoots and leaves as quickly as possible to ensure that they retain as much flavour as possible.
If you do need to store them pop them into a polythene bag and place in the salad drawer of the fridge where most will keep for two or three days.
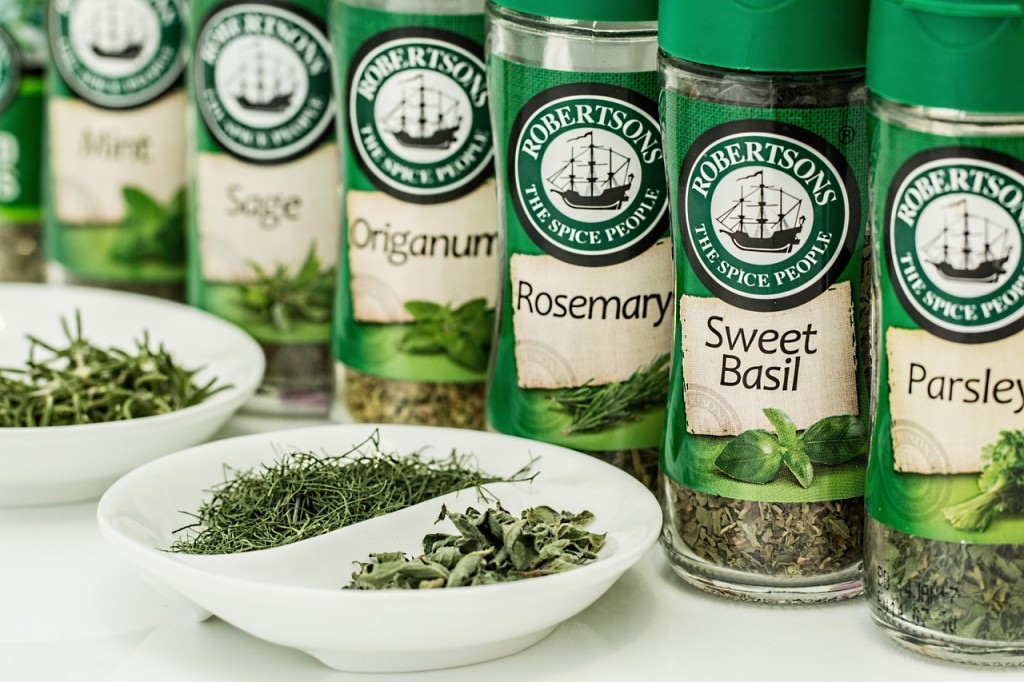
Storing
Cold temperatures mean that many herbs either won’t grow at all or like mint effectively shut down from October to March and so it is necessary to store some away for winter use. There are many ways to do this depending on the herb in question and methods include drying, freezing or infusing the herbs in oil or vinegar.
Whatever the method your leaves and stems should always be harvested when at their very best, usually before flowering in early summer, not in the autumn when the plants might be past their best.
Drying
In order to retain as much flavour as possible and to prevent the delicate oils of many herbs from being lost, it is important that the harvested leaves are dried very slowly.
It is possible to build a home-made drier or to buy one, but if you only have a few herbs to deal with a dark airing cupboard, shed or garage can be just as good. The ideal drying temperature is between 24 – 32C (75-90F) and material should take four to five days to dry sufficiently for storing.
Prepare the leaves for drying by gently rubbing off any dirt (do not wash them unless they are very dirty) and then simply lay leaves on a piece of muslin stretched over a wire rack from the oven so that air can circulate all around them.
Woody stems such as sage or thyme should be tied together in groups of 10 or so and hung up so that the air can circulate between them.
Don’t tie your bunches too tightly or make them too large or air will not be able to permeate around the stems effectively and rotting may set in. Inspect the herbs each day to check progress, removing any material that is dry enough to store (or has started to rot), if necessary leaving the rest for an extra day or two.
The leaves should be thoroughly dry, but not so much that they crumble when touched.
Once sufficiently desiccated the leaves can be stored in airtight jars (dark glass jars are best if you can find them) keeping the leaves whole if possible until needed; those dried on stems can be stripped carefully and stored in the same way.
The jars should be labelled clearly and stored in a cool, dark place.
Freezing
This is the easiest way to store herbs and ideal for soft, delicate leaves such as basil and coriander.
Once again the leaves to be stored should be harvested when plants are at their peak and preferably before flowering.
The harvested foliage can then simply be stored in labelled freezer bags in convenient-sized portions or chopped and frozen in an ice cube tray.
The cubes can simply be dropped into the pan when cooking or into drinks to flavour them.
Top Tip
Planting your herbs in containers and keeping them in a convenient spot close to the back door or kitchen will encourage you to pick them and to water them regularly.
Using herbs in cooking
Cooking with herbs
Fresh herbs are very potent so always add small amounts first and then taste before adding more. Herbs should not be the overpowering flavour.
Make your own bouquet garni
You can buy sachets of bouquet garni for dropping into your cooking pot but why not make your own. Simply cut some stems of your chosen herbs, wash and tie together with some string before dropping into the pot.
Add herbs late
Some herbs are best added to a dish later rather than earlier in cooking. For example basil, chives and dill, marjoram, parsley and mint leaves can be chopped and put in a few minutes before the end of cooking time or even after to season.
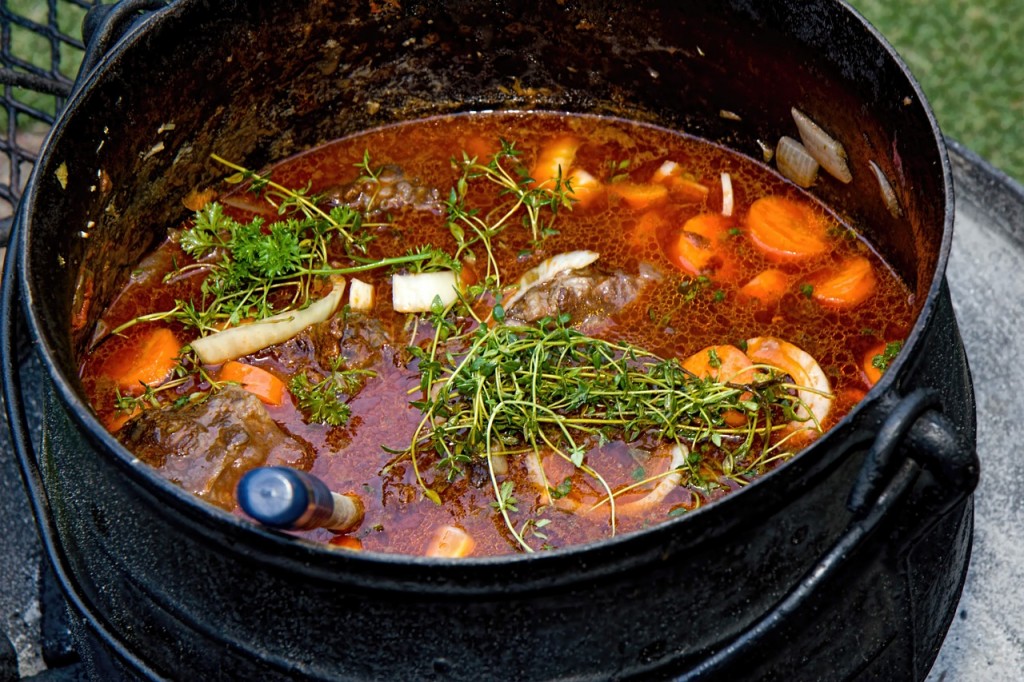
Herbs needing longer cooking
Tarragon, bay, rosemary, thyme and dill seeds can be added 20- 30 minutes before the end of cooking time as these are tougher and need longer cooking to extract the flavour. Bay leaves are usually dropped in whole and removed before serving.
Fine herbs
This is sometimes called for in recipes and it is a mix of chopped fresh parsley, chervil, chives and tarragon. A lovely mix to add to omelettes or sprinkled over peas and carrots before serving
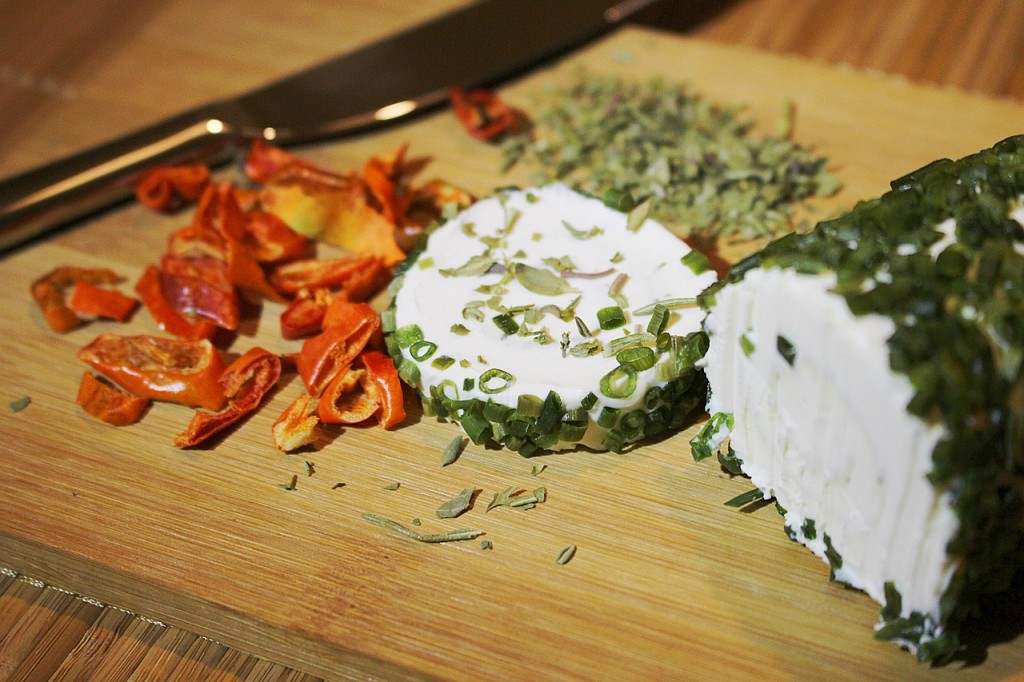
Herb butter
This is simple to make. Chop herbs such as parsley, thyme, sage or mint and mix into some softened butter. Add a touch of lemon juice, salt and pepper and cut into small sized chunks before placing back in the fridge.
What herbs to use in your food
Beef: Basil, marjoram, thyme, rosemary, horseradish
Lamb: Rosemary, garlic, dill, bay
Stews: Bay, dill, garlic, marjoram, parsley, thyme, sage, rosemary, tarragon
Soup: Basil with tomato, coriander with carrot, mint with pea, fennel with fish
Poultry: Rosemary, tarragon, sage, parsley, thyme, fennel
Fish: Fennel, sage, parsley, basil, chives
Eggs: Chives, tarragon, marjoram, basil, parsley
Salads: Chives, fennel, thyme, tarragon, garlic, sage, dill
Stuffings: Parsley, sage, thyme,
Cheese: Chives, sage, garlic, parsley
Garnishes: Parsley, mint, rosemary, chives, basil, rosemary
Potatoes; Mint, thyme
Summer squash: Thyme
Herb oils and vinegars
Many of the herbs described in this guide can be used to make wonderful herbal oils and vinegars – just the thing to dress a salad at any time of year or to use in various recipes.
To make a herb oil simply take a clean clear glass jar; placing the jar in a medium oven for an hour before removing and allowing to cool should ensure that it is free of any harmful bacteria.
Fill this with freshly picked herbs and cover with sunflower oil. Place jars in the fridge and use within 7days of making as there is a danger harmful bacteria can multiply if kept for too long.
Vinegars are made in much the same way but replacing the oil with a good quality cider or wine vinegar.
Start by sterilising the jars as above or by pouring boiling water into them and allowing them to sit for 10 minutes.
The vinegar should be heated gently in a non-aluminium saucepan to warm it and stirred gently with a plastic spoon. Do not allow the vinegar to boil. When it is lukewarm add the herbs (a couple of good-sized sprigs should be enough) to the jar and cover with the vinegar.
Leave to steep on a sunny windowsill for two days before adding more vinegar if necessary (the herbs may absorb some of the liquid).
Leave the jar to stand on the windowsill for two weeks, stirring or shaking every day before tasting. Add more herbs if required.
Some vinegars such as tarragon, benefit from the addition of a clove or two of garlic to complement the flavour. Experiment to find out what best suits your taste.
Herb teas and drinks
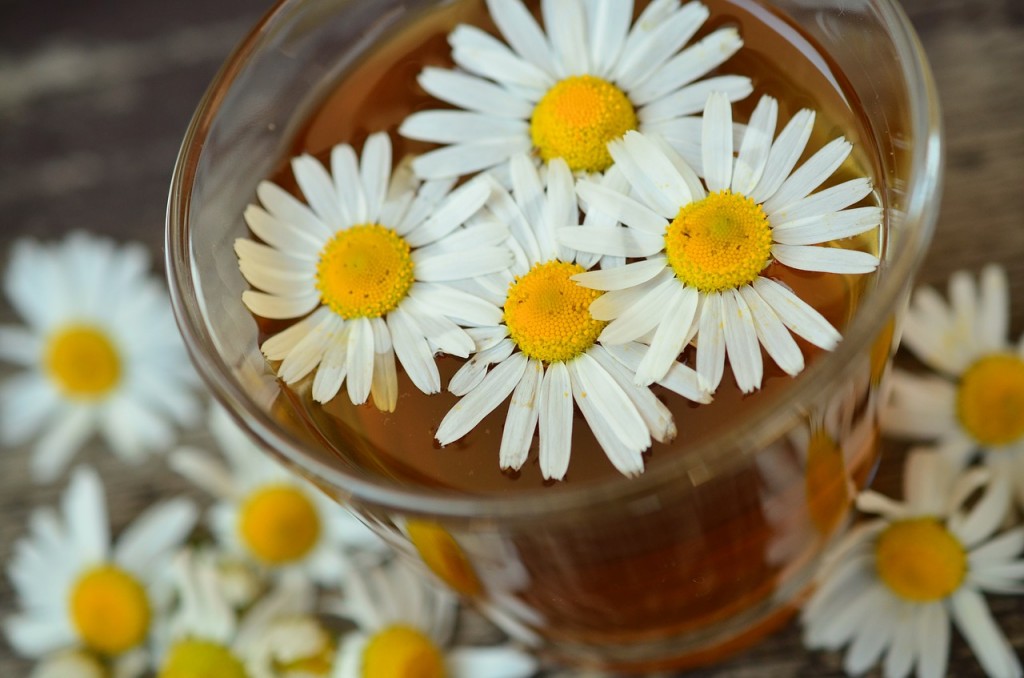
Herbal teas or infusions have been used for centuries both as a refreshing drink and for their medicinal qualities and are usually made in the same way as a good old cuppa; the fresh or dried leaves are crushed or torn and placed in a teapot and allowed to brew in boiling water for five minutes.
As a rule it is recommended to use 1tsp of dried, crushed leaves or 3tsp of fresh, torn leaves per cup of freshly boiled water.
If the taste is a little too bland for you then add a little honey as a sweetener or experiment with the quantities or with mixtures of different herbs.